Transforming your living space doesn’t always require expensive purchases or major renovations. With a little creativity and some hands-on effort, you can easily create wall décor that reflects your style and brightens up any room. Whether you prefer minimalistic designs, rustic charm, or vibrant colors, these easy DIY ideas for wall décor are simple to make and tailored for every skill level.
Why DIY Wall Décor?
Adding personalized touch to your walls can make a big difference in how a room feels. DIY wall décor offers:
– Cost-effectiveness: Materials are often inexpensive or repurposed.
– Customization: You choose colors, textures, and styles to fit your taste.
– Satisfaction: Crafting something yourself brings joy and pride.
– Flexibility: Projects can be done in any room, from the living area to the bedroom or even the bathroom.
Ready to get started? Here are some approachable ideas to inspire your next design!
—
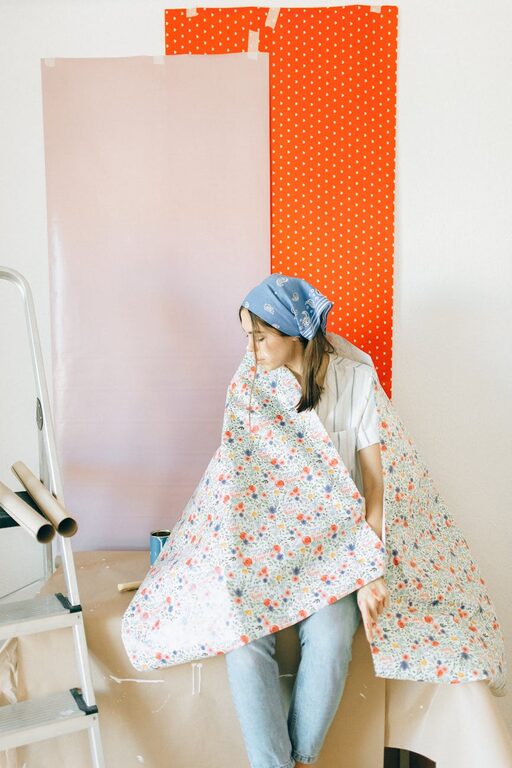
1. Framed Fabric Panels
Using fabric to create framed art is an easy way to add color and texture to your walls.
Materials Needed:
– Wooden frames (old or new)
– Fabric pieces of your choice
– Staple gun or adhesive
– Scissors
How to Make:
- Remove glass from the frames.
- Cut fabric slightly larger than the frame size.
- Stretch fabric tightly over the back of the frame and secure it with a staple gun or adhesive.
- Arrange several frames in a grid or creatively staggered pattern.
This method is particularly good for using bold patterns or seasonal fabrics to change your look easily.
—
2. Painted Wooden Pallet Art
Wooden pallets can be transformed into rustic wall art with some paint and imagination.
Materials Needed:
– Wooden pallet or reclaimed wood slats
– Sandpaper
– Acrylic paint or wood stain
– Paintbrushes
– Hanging hardware
Steps:
- Sand the pallet to smooth rough edges.
- Paint or stain in colors that match your décor.
- Optional: Add stencils or hand-painted designs such as quotes or geometric shapes.
- Fix hanging hardware onto the back and mount on your wall.
This project adds a warm, natural touch and can be customized with personalized messages.
—
3. Washi Tape Wall Designs
If you want to avoid nails or permanent alterations, washi tape offers a creative, removable solution.
Supplies:
– Assorted washi tapes with different colors and patterns
– Ruler and pencil (optional for guides)
Instructions:
- Plan out a design—stripes, chevron patterns, or abstract shapes.
- Clean the wall surface for better adhesion.
- Apply the tape carefully using a ruler for straight lines or freehand for organic shapes.
- Create a large statement piece or several smaller designs, depending on your preference.
Washi tape is ideal for renters or anyone hesitant to commit to permanent changes.
—
4. Macramé Wall Hangings
Bring a boho vibe into your home with handmade macramé art that also adds texture and depth.
What You Need:
– Macramé cord (cotton or jute)
– Wooden dowel or branch
– Scissors
– Optional beads or feathers for embellishment
Basic Technique:
- Attach cords to the dowel using a lark’s head knot.
- Learn a few simple knots like square knots or half hitch knots.
- Create your desired pattern.
- Finish by trimming ends evenly or adding decorative elements.
Macramé is a relaxing craft and produces beautiful, tactile décor perfect for living rooms and bedrooms.
—
5. Gallery Wall with Printable Art
A gallery wall is a flexible way to showcase art, photos, and other prints you love.
How to Assemble:
- Choose various frames in coordinating colors and sizes.
- Find or create printable artwork – many free and low-cost options are available online.
- Mix photos, quotes, abstract prints, and more.
- Lay out the arrangement on the floor before hanging.
- Use picture hooks or adhesive strips to hang the frames.
This option allows you to switch out prints seasonally or whenever you want a fresh look.
—
6. Nature-Inspired Wall Art
Use natural elements to create simple, organic designs.
Materials:
– Twigs, pinecones, pressed leaves, or dried flowers
– Glue gun or craft glue
– Canvas or heavy paper backing
– Frame (optional)
Creation Steps:
- Arrange natural items onto your backing in shapes like hearts, wreaths, or abstract patterns.
- Glue each piece securely.
- Let dry completely.
- Frame your creation or hang as is.
This project brings a calming, earthy element indoors and connects your space with nature.
—
Tips for Successful DIY Wall Projects
– Prep your surface: Clean walls before starting for better material adhesion.
– Plan your design: Sketch or visualize before applying to avoid mistakes.
– Use appropriate tools: Gather all supplies and proper hanging hardware.
– Start small: Test techniques with small pieces if you’re new to crafting.
– Mix and match: Combine different DIY projects for layered, interesting walls.
—
Final Thoughts
Easy DIY wall décor projects are a fantastic way to personalize your living space without stress or expense. From fabric panels to macramé hangings, there’s a craft for everyone regardless of skill level. The best part? You get to showcase your creativity and update your home as often as you like.
So gather your materials, set aside some time, and start crafting your unique wall stories today! Your walls will thank you.
—